
It’s always amazing to reflect on the knowledge and experience that is often hidden away in our communities. The Seed Growing Workshop provided a special opportunity to learn from our member Tamara, a horticultural expert who graciously volunteered her time to share her wisdom and knowledge based on decades of working in the industry.
This blog will cover the basics of Tamara’s teachings on how to grow from seed, offering an overview of 5 steps for consideration, with a sprinkling of handy tips and tricks that she has picked up over the years.


Step 1 – Choosing your seeds
It can be overwhelming to choose which seeds you would like to grow, but as a beginner it is recommended to stick to the basics and look for seeds that are marketed for beginners and relatively easy to grow.
You can find seeds in garden centres, grocery shops, supermarkets, at community seed swaps, and online. You can even save seeds from plants, and we will be hosting a seed saving workshop on how to do just that later this year.
Did you know that commonly found herb and spice seeds that we use for cooking, like coriander seed and cumin seed, are exactly the same seeds that you would get from a seed packet found in a garden centre? Buying seeds in this way, particularly if you buy from zero waste shops, is often a cheaper alternative than buying in packets. Even world food aisles in supermarkets may sell different varieties of seeds that you can try out and grow (particularly good idea for micro greens!).
When deciding which seeds to grow, there are a few things to look for on seed packets. This includes:
- The variety and growing info
- Growing and harvest season
- Symbols indicating awards (such as the RHS Award of Garden Merit)
Looking out for symbols can reveal if the seed has won awards, revealing a lot about the seed’s likelihood to perform. For example, seeds awarded the RHS Award of Garden Merit have gone through extensive trials and must meet certain criteria, making them a good choice for reliability and quality.
Another thing to consider is whether it has “F1” on the seed packet. Without going into too much detail, what this basically means is that it is a hybrid; an offspring of two different plants that have been cross-pollinated for desirable traits. The benefits of buying an F1 or even F2 seed is that they will often be more uniform in appearance and performance than open-pollinated seeds and are often more resistant to pests and disease. The downside is that they don’t reliably produce seeds that “come true to type”, meaning if you save seeds from an F1 hybrid, the plants produced are likely to have a broad range of characteristics that are often poor in quality. Another consideration when it comes to buying hybrid seeds is that we lose the genetic base of the plant, which means we lose important genetic diversity which creates challenges for the seed’s resilience long term.
An alternative to hybrid seeds are heritage or heirloom varieties . These seeds have been passed down through generations and are valued for their unique flavours, textures, and appearances. Choosing these varieties help to promote genetic diversity and improve food resilience and security. There are plenty of companies out there who sell heritage / heirloom seeds and actively promote the saving of seeds, for example Real Seeds is based in Wales and sell varieties better suited for growing in the UK climate.


Step 2 – Choosing your container
You can use any container for seed sowing as long as it’s a couple of inches deep (or deeper if you plan on growing beans and peas) and there are holes in the bottom for drainage. There are a variety of options to choose from, of all shapes and sizes, and you can even be quite creative with it! Examples include:
- Supermarket food containers, like mushroom trays (often a good size for growing micro-greens on a windowsill)
- Modules
- Seed trays
- Cardboard toilet roll inners (cut these in half to maximise resources)
- Repurposed items, such as wellingtons and in Tamara’s case, glassware!
What you decide to use completely depends on your preference and what you intend to grow. For example, lettuce is great for growing in seed trays and modules are great for multi-sowing onions and beetroots. Just be mindful that using small containers require more effort around monitoring the water levels and more frequent feeding of the compost your seedlings call home.


Step 3 – Choosing your compost
Compost varies greatly and more often than not, the pricier the compost often means the higher the quality – you get what you pay for. Growing from seed requires a lot of nutrients which means that using a lower quality compost may prove challenging for your seedlings to grow healthy and strong.
If you are buying compost for seed growing, we recommend buying peat-free and if you can, invest in a higher quality compost such as Sylva Grow which is available online or at local garden centres.
Alternatively, you can search for initiatives such as free compost at local recycling centres (just like the one in New Inn, Pontypool) or try your hand at making your own compost. Making your own compost does take time, but it is a great way to make use of food and garden scraps in a way that saves you money and has a healthier footprint on the earth. Lots of information is available on how to make your own compost and we will be hosting a composting workshop later this year, so make sure to keep updated using our social media channels and website!


Step 4 – Sowing your seed
Start off with your compost mixture. You may need to improve the quality of your compost by adding other things which improve soil structure and water retention, such as:
- Vermiculite – naturally occurring lava rock which helps to improve water retention whilst attracting nutrients. It is a good substrate to use if you are handling very fine seeds. However, it does pose social and environmental challenges to be aware of.
- Perlite – expanded volcanic rock which helps with soil structure, creating more air pockets and improving drainage. However, perlite is dusty so take care to avoid inhaling the dust and dampen with water before using it. Similar to vermiculite, there are questions surrounding its sustainability.
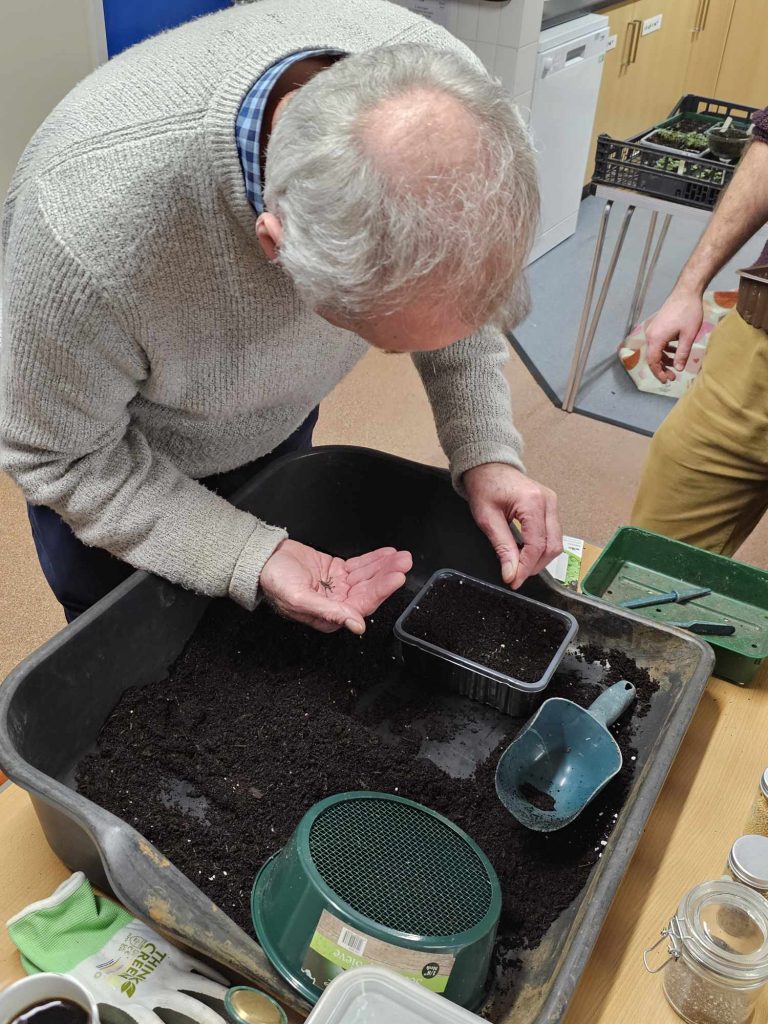
Almost fill your container with compost and then gently shake to level it off. Gently press down using your fingers or another container until it the compost is firm, but not compacted. Put some seeds in the palm of your hand and then carefully pinch and sprinkle the seeds in an even manner over the compost. Always read the packet to understand how deep you need to sow your seeds.
Once the seeds are sown, cover them either with compost or vermiculite (good option if you are dealing with very fine seeds). The general idea is the bigger the seed, the bigger the cover of compost. You can use a sieve to finely cover the seeds with compost. Don’t forget to label your seeds with the date and the name to avoid confusion when the seedlings start to grow!
Next is watering. You can water your compost before sowing or you can fill a tray with water and sit the container in the tray to let it soak up the water from the bottom. After about half hour, pick up the container to feel its weight and see if water is draining from the bottom. You can use a watering can but be mindful that heavy handed watering can displace the seeds so make sure to use a fine rose on your watering can.
It is recommended to sow little and often to ensure a steady supply of food and avoid gluts (having too much to harvest at once).


Step 5 – Pricking out seedlings and potting on
If you have sown several seeds in a container, it is a good idea to prick out the seedlings and transplant them separately into a larger container. Pricking out seedlings is an important step as it gives the seedlings enough space to grow healthy and provides them extra nutrients that fresh compost offers.
You can prick out your seedlings when they have their first pair of true leaves (the first set of leaves that look like the parent plant). Using a pencil, a dibber, or even a teaspoon, gently leaver the roots of the seedling out of the compost – always holding the seedling by the leaves and not the steam which can be easily damaged.
Transplant your seedlings into small pots or trays filled with fresh compost. Make a hole in the fresh compost and carefully place the seedling into the hole. Position the seedling so that its leaves are in line with the top of the compost and gently firm the compost around the seedling and carefully water it in. Again, don’t forget to label your seedlings!. freezer food guide page
Once transplanted, place your transplanted seedlings somewhere bright such as a windowsill or greenhouse.
Knowing when to pot on your plants to their final growing space depends on the type of plant, where you want it to grow and the time of year. If you plan on growing the plant outside, young plants need time to adjust before being planted out – a process called hardening off. You can position your young plants in a sheltered spot outside during the daytime for a short period of time. Gradually, extend the length of time that your plants spend outside over the course of a couple of weeks before moving them to their final home outside.


Our Seed Growing Workshop was a free event and part of our Root For Our Future project, funded by the The National Lottery Community Fund/ Cronfa Gymunedol y Loteri Genedlaethol.